Search  for anything...
TMS

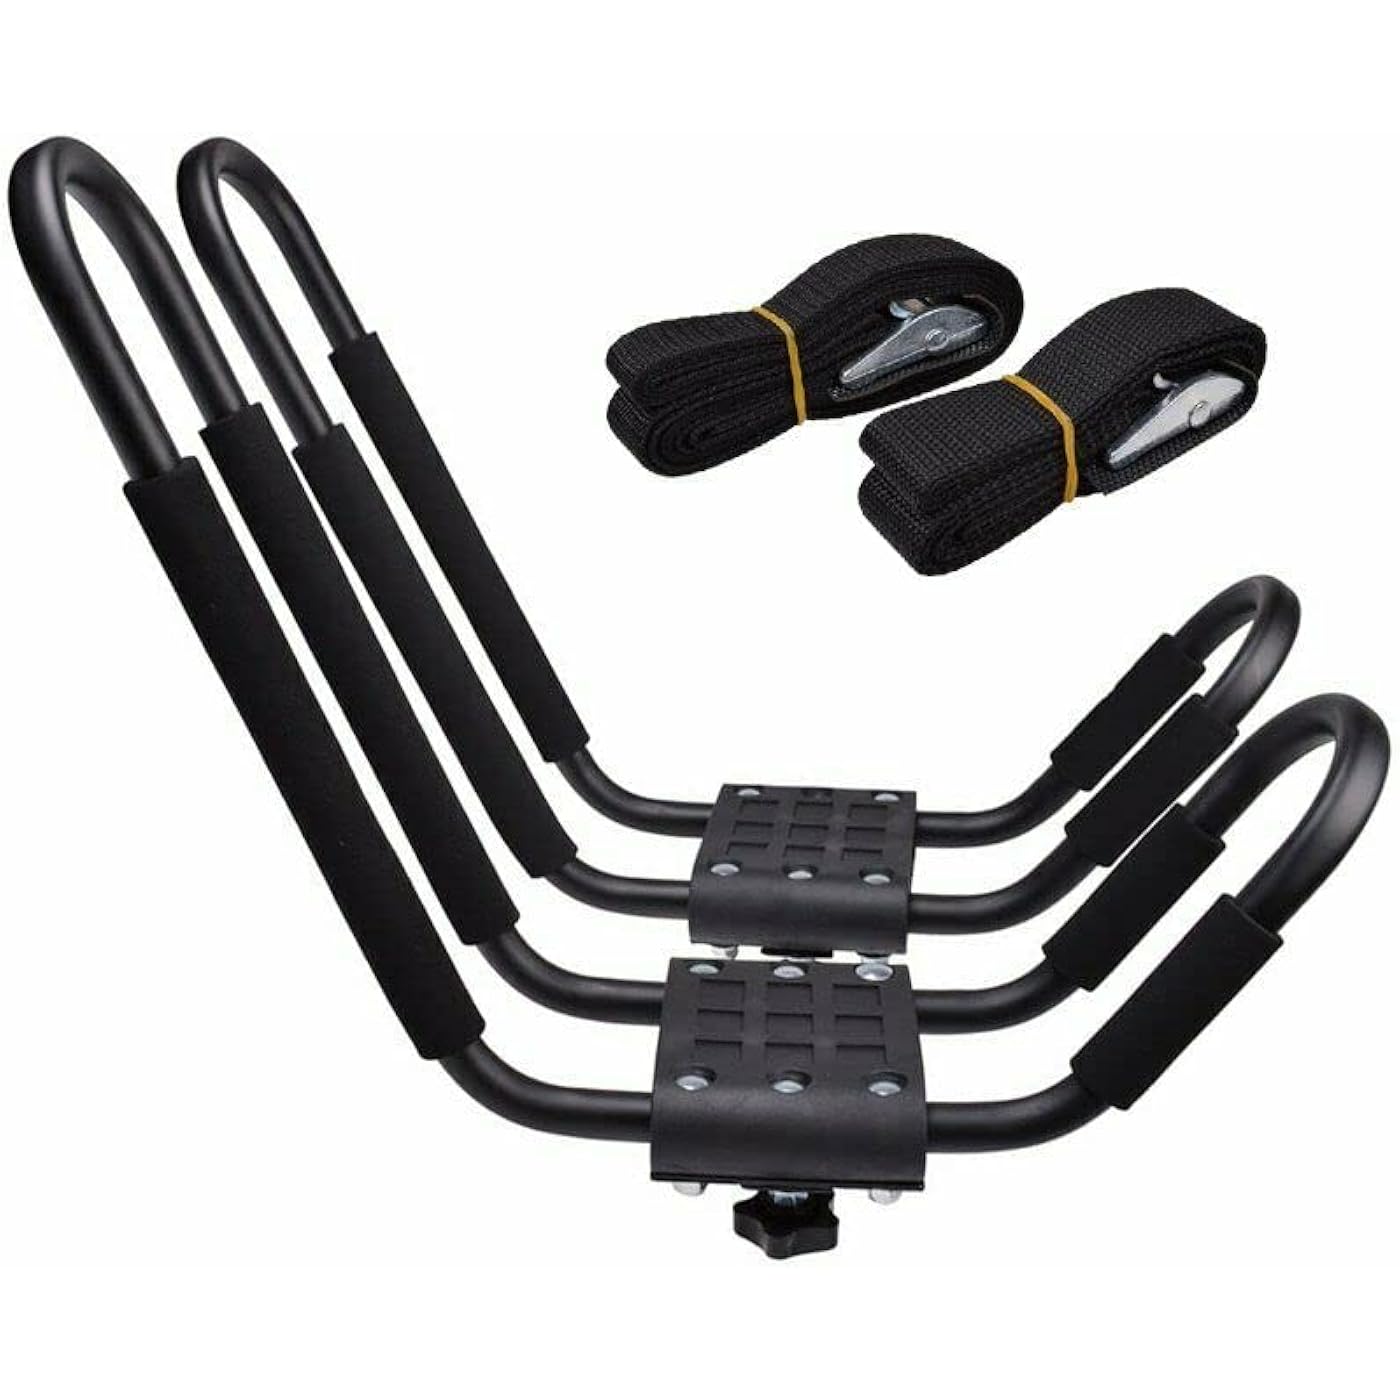
TMS J-Bar Rack HD Kayak Carrier Canoe Boat Surf Ski Roof Top Mounted on Car SUV Crossbar

  • Based on 4,478 reviews
Condition: New
Checking for product changes
$59.95 Why this price?
Save $9.89 was $69.84

Buy Now, Pay Later


As low as $9.99 / mo
  • – 6-month term
  • – No impact on credit
  • – Instant approval decision
  • – Secure and straightforward checkout

Ready to go? Add this product to your cart and select a plan during checkout. Payment plans are offered through our trusted finance partners Klarna, PayTomorrow, Affirm, Afterpay, Apple Pay, and PayPal. No-credit-needed leasing options through Acima may also be available at checkout.

Learn more about financing & leasing here.

Free shipping on this product

This item is eligible for return within 30 days of receipt

To qualify for a full refund, items must be returned in their original, unused condition. If an item is returned in a used, damaged, or materially different state, you may be granted a partial refund.

To initiate a return, please visit our Returns Center.

View our full returns policy here.


Availability: In Stock.
Fulfilled by Amazon

Arrives Saturday, Nov 23
Order within 11 hours and 1 minute
Available payment plans shown during checkout

Features

  • Steel design with adjustable padding for carrying strength and kayak protection

Description

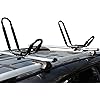
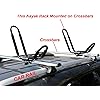
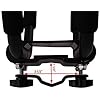
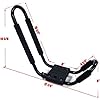
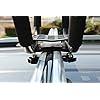
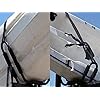
This Kayak Carrier designed mounts to virtually all crossbars and load bars on the market. The carrier secures the kayak on its side, consuming minimal space on the load bar. Accommodates kayaks up to 36inch wide and 75lbs. The crossbars shown in the pictures are not included~PLEASE CHECK MEASUREMENTS BEFORE PURCHASE.~ Buy4Easy and River Colony Trading are the only authorized sellers of TMS branded products.

Color: Black


Brand: TMS


Item dimensions L x W x H: 17.25 x 4.5 x 14.62 inches


Load Capacity: 75 Pounds


Mounting Type: Roof Mount,Crossbar Mount


Global Trade Identification Number: 09


Manufacturer: TMS


UPC:


Color: ‎Black


Brand: ‎TMS


Item dimensions L x W x H: ‎17.25 x 4.5 x 14.62 inches


Load Capacity: ‎75 Pounds


Mounting Type: ‎Roof Mount,Crossbar Mount


Global Trade Identification Number: ‎09


Manufacturer: ‎TMS


UPC: ‎810101940132 799975059709


Item Weight: ‎8 pounds


Product Dimensions: ‎17.25 x 4.5 x 14.62 inches


Item model number: ‎KAYAK-RK-J(1BOX)


Is Discontinued By Manufacturer: ‎No


Manufacturer Part Number: ‎KAYAK-RK-J(1BOX)


Date First Available: July 8, 2010


Frequently asked questions

If you place your order now, the estimated arrival date for this product is: Saturday, Nov 23

Yes, absolutely! You may return this product for a full refund within 30 days of receiving it.

To initiate a return, please visit our Returns Center.

View our full returns policy here.

  • Klarna Financing
  • Affirm Pay in 4
  • Affirm Financing
  • Afterpay Financing
  • PayTomorrow Financing
  • Financing through Apple Pay
Leasing options through Acima may also be available during checkout.

Learn more about financing & leasing here.

Top Amazon Reviews


  • TMS J-Bar Rack worked fine for me
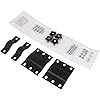
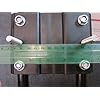
The media could not be loaded. I'm pleased with my purchase of two sets of these J-Bar racks so I could carry two kayaks on my Honda Odyssey, one on either side with a canoe in the middle. The J-Bars attached easily to the 78 inch-wide Thule bars I already had mounted to the factory roof rack. Although the canoe fit fine I ended up puting it on another car so I could put two extra bikes on top of the van. We traveled 5 hrs round trip to a mountain lake sometimes at highway speeds with no issues. Some other reviewers said these J-Bars were difficult to assemble and had poor or non-existent instructions. They came with just a piece of paper showing the parts and a diagram of how they fit together, but no step by step narrative. I thought the diagram was easy enough to understand but the "difficult" part was getting the bolt heads through the bottom black plastic part of the mount. The bolt heads are a tight fit in the plastic and the underside of the bolt heads have a square shape that fits into a square shape down inside the mount. I solved this by pushing the bolts in until the heads stopped at the plastic, then screwed on the self-locking nuts finger tight (they screw on a few turns before you need a wrench). Then I used pliers to grab the nut to pull the bolt through, while turning it until it seated in the square hole, then continued to turn the nut with the pliers while pulling so the bolt couldn't pop out of the square hole. Finished tightening nuts with a wrench. I also cut a small piece of wood to fit between the bars at the bottom, to hold them apart while assembling the bottom of the mount. The plastic is flexible and the wood helped stretch it a little to get the black metal plate in place. Other than getting those bolts in place, the assembly was easy. The J-Bars were priced right and decent quality. I would buy them again. Like other things I've purchased that were made in China that needed assembly, there can be a glitch or two but they work ok if you're careful, like the patio set I bought with propane fire pit...but that's another story! ... show more
Reviewed in the United States on July 15, 2015 by A. Nonymous

  • EASY ASSEMBLY INSTRUCTIONS
These seem well-made and are a steal at this price. The only issue is the assembly. EASY ASSEMBLY INSTRUCTIONS The racks come with a one page sheet listing the parts on one side and a diagram on the other. The kit comes with a dinky little wrench but toss that and get yourself a 1/2 socket wrench. Unless you have a very deep 1/2 socket you will also need a 1/2 box or open-end wrench to tighten beyond the depth of your socket. You can do without the socket wrench … it's just more work without it. Here's the secret to assembly. You must place the rubber piece in boiling water for about 40-45 seconds! If you don't do this, you are in for a very frustrating and irritating experience. Also, I recommend assembling one bracket at a time … boil one rubber piece, assemble, boil the next rubber piece, assemble, etc. (I bought 2 sets so I had to do 4) so that the rubber is as pliable as possible when you need it to be. Another tip … lube the tips of the metal pieces. Lube the inside of the larger piece and the outside of smaller piece with Vaseline so they will slide together easily. Assembly: 1. Slide the larger piece into the rubber from either side. Refer to the diagram to make sure the rubber is right side up. 2. Slide the smaller piece into the other end of the rubber and line up the tips so one will slip inside the other. Once you get them mated, just give them a shove until fully seated (pretty easy if you lubed them). 3. Next, peer down thru all 6 holes and massage the rubber piece so that you have clear passage thru the entire structure for all 6 holes. Once you have that lined up, insert the 4 corner bolts. Put the metal plate in place, add the washers and tighten with the locknuts as shown in the diagram. 4. Now insert the long bolts, washer and tighten using the regular hex nuts (if you do this before tightening the corner bolts, the long bolts will impede your box or open-end wrench). NOTE: The diagram shows the washer and nut going on the long bolts underneath the bottom bracket … THE DIAGRAM IS WRONG! All bolts should be tightened against the same metal plate. 5. That's it for the assembly. Just set each rack on the roof rail of your car, slide the bottom bracket in place and tighten with the plastic knobs. ... show more
Reviewed in the United States on August 31, 2015 by ADRPRO

Can't find a product?

Find it on Amazon first, then paste the link below.