Notify me when this product is back in stock
Ready to go? Add this product to your cart and select a plan during checkout. Payment plans are offered through our trusted finance partners Klarna, PayTomorrow, Affirm, Afterpay, Apple Pay, and PayPal. No-credit-needed leasing options through Acima may also be available at checkout.
Learn more about financing & leasing here.
This item is eligible for return within 30 days of receipt
To qualify for a full refund, items must be returned in their original, unused condition. If an item is returned in a used, damaged, or materially different state, you may be granted a partial refund.
To initiate a return, please visit our Returns Center.
View our full returns policy here.
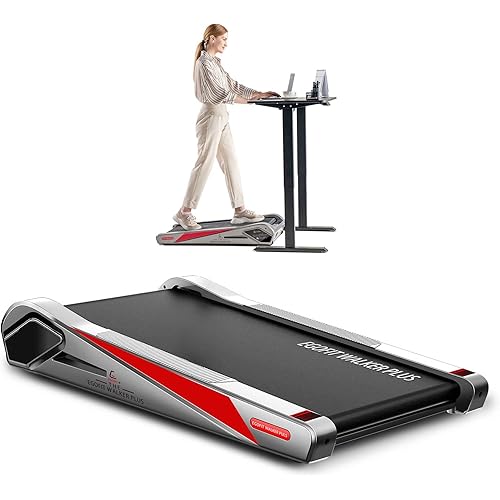
Model: AD3 PRO
Features
Brand: FLASHFORGE
Material: Pla
Color: Black
Product Dimensions: 45"D x 25"W x 80"H
Item Weight: 9 Kilograms
Product Dimensions: 5.91 x 5.91 x 5.91 inches
Item Weight: 19.8 pounds
Item model number: AD3 PRO
Date First Available: November 8, 2021
Manufacturer: Zhejiang Flashforge 3D Technology Co., Ltd.
Country of Origin: China