Search  for anything...

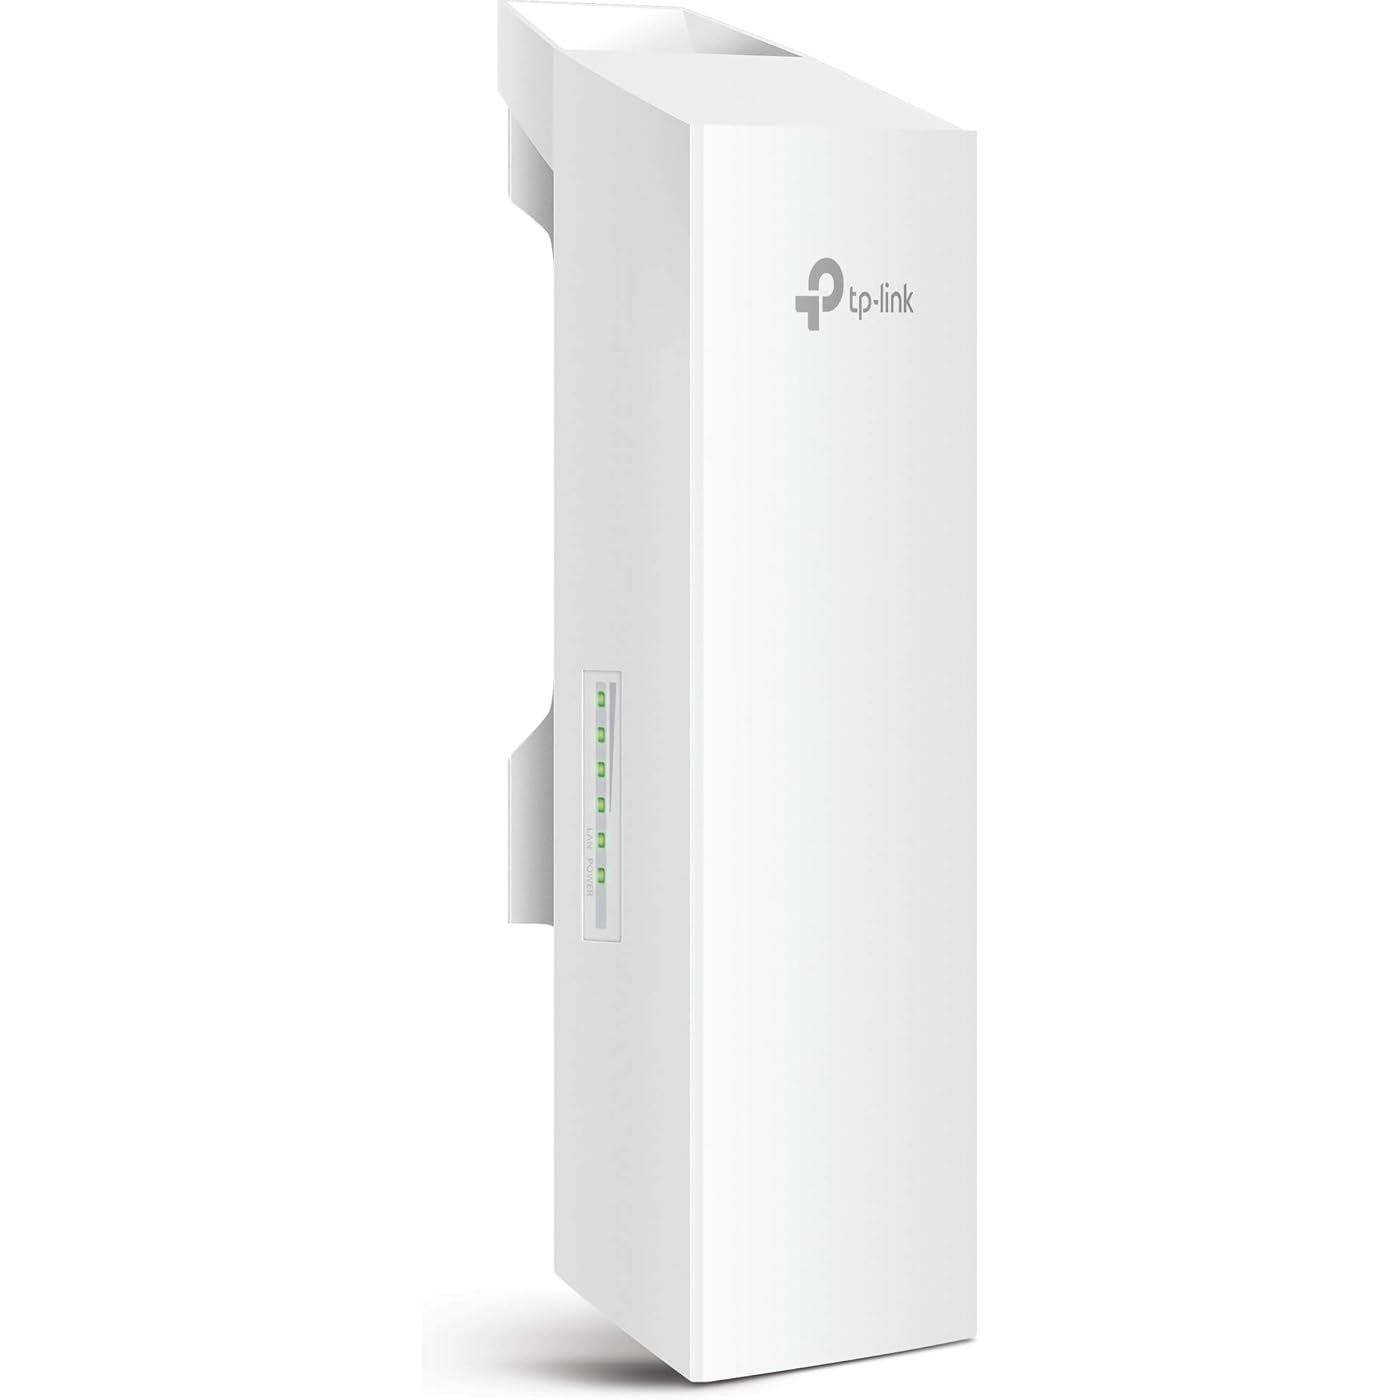
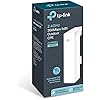
TP-Link 2.4GHz N300 Long Range Outdoor CPE for PtP and PtMP Transmission | Point to Point Wireless Bridge | 9dBi, 5km+ | Passive PoE Powered w/ Free PoE Injector | Pharos Control (CPE210)

  • Based on 4,421 reviews
Condition: New
Checking for product changes
$39.99 Why this price?
New Year Deal · 50% off was $79.98

Buy Now, Pay Later


As low as $9 / mo
  • – 4-month term
  • – No impact on credit
  • – Instant approval decision
  • – Secure and straightforward checkout

Ready to go? Add this product to your cart and select a plan during checkout. Payment plans are offered through our trusted finance partners Klarna, PayTomorrow, Affirm, Afterpay, Apple Pay, and PayPal. No-credit-needed leasing options through Acima may also be available at checkout.

Learn more about financing & leasing here.

Selected Option

Free shipping on this product

This item is eligible for return within 30 days of receipt

To qualify for a full refund, items must be returned in their original, unused condition. If an item is returned in a used, damaged, or materially different state, you may be granted a partial refund.

To initiate a return, please visit our Returns Center.

View our full returns policy here.


Availability: In Stock.
Fulfilled by Amazon

Arrives Saturday, Jan 18
Order within 1 hour and 47 minutes
Available payment plans shown during checkout

Style: N300, 2.4GHz


Features

  • Built in 9dBi 2x2 dual polarized directional MIMO antenna
  • Adjustable transmission Power from 0 to 27dBm/500mW. Power Consumption: 10.5 Watts Max, Note: When deployed using Passive PoE, the power drawn from the power source will be higher by some amount depending on the length of the connecting cable
  • System level optimizations for more than 5km long-range wireless transmission (only for paired Point-to-Point or Point-to-MultiPoint transmission)
  • TP Link Pharos tdma (Time Division Multiple Access) technology improves product Performance in throughput, Capacity and latency Performance
  • Centralized management system Pharos Control
  • AP/ client/ AP router/ AP client router (WISP) operation modes
  • Passive PoE adapter Suppots up to 60 meter (200 Feet) Power over Ethernet deployment and allows the device to be reset remotely
  • Connectivity technology: Wi-Fi Built In

Description

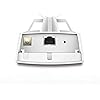
TP-LINK's 2.4GHz 300Mbps 9dBi Outdoor CPE, the CPE210 is dedicated to cost effective solutions for outdoor wireless networking applications. With its centralized management application, it is ideal for point-to-point, point-to- multipoint and outdoor Wi-Fi coverage applications. Professional performance, coupled with user-friendly design, makes CPE210 an ideal choice for both business and home users. Channel Bandwidth - 5/10/20/40MHz Frequency Range: 5.15~5.85GHz. Note: Available operating frequency may vary depending on the limitations of the countries or regions in which the device is used.; Interface Available: 1 x 10/100Mbps Shielded Ethernet Port (Passive PoE in), 1 Grounding Terminal, 1 Reset Button, 1 AC Jack with Earth Ground, 1 10/100Mbps Shielded Ethernet Port (Power + Data); Processor: Qualcomm Atheros Enterprise 560MHz CPU MIPS 74Kc; Internal Memory: 64MB DDR2 RAM 8MB Flash; Protocols Supported: TDMA Mode (with Pharos MAXtream enabled); System Requirement: Microsoft Windows 98SE NT 2000 XP Vista, or Windows 10 Windows 8 Windows 7 MAC OS NetWare UNIX or Linux., Note: We recommend you to use one of following Web browsers for an improved user experience: Google Chrome Safari and Firefox. IE browsers are not recommended.; Wireless Standards: IEEE 802.11a/n (with Pharos MAXtream disabled). Operating Temperature: -40℃~70℃ (-40℉~158℉).


RAM: ‎64 MB


Wireless Type: ‎802.11n


Brand: ‎TP-Link


Item model number: ‎CPE210


Item Weight: ‎1.1 pounds


Product Dimensions: ‎8.82 x 3.11 x 2.36 inches


Item Dimensions LxWxH: ‎8.82 x 3.11 x 2.36 inches


Color: ‎N300, 2.4GHz


Flash Memory Size: ‎64


Voltage: ‎24 Volts


Manufacturer: ‎TP-Link


Country of Origin: ‎Vietnam


Is Discontinued By Manufacturer: ‎No


Date First Available: ‎November 1, 2014


Frequently asked questions

If you place your order now, the estimated arrival date for this product is: Saturday, Jan 18

Yes, absolutely! You may return this product for a full refund within 30 days of receiving it.

To initiate a return, please visit our Returns Center.

View our full returns policy here.

  • Klarna Financing
  • Affirm Pay in 4
  • Affirm Financing
  • Afterpay Financing
  • PayTomorrow Financing
  • Financing through Apple Pay
Leasing options through Acima may also be available during checkout.

Learn more about financing & leasing here.

Top Amazon Reviews


  • Strong signal, mediocre software, nonexistent documentation, mystery firmware
Style: N300, 5GHz
I used this CPE510 in client mode to catch a wifi signal from my house and pass it through the wall of a steel outbuilding to a third-party AP. I had been able to connect to the wifi standing just outside the outbuilding, but once you went inside, the signal dropped, so this is the solution I came up with so I wouldn't have to bury 25 yards of cable. For my purposes, it works great once it's set up, but the web UI config page is pretty opaque, and there are no messages, logs, or other indications when something doesn't work. For instance, I was able to find my wifi SSID with no problems, and the CPE510 saw the network just fine and let me put in the password. But it showed no attempt to actually connect, and no activity at all on the "signal strength" LEDs. After pounding my head against the wall for a while, I randomly switched the network from WPA2/WPA3 to plain WPA2, and the CPE510 connected right away. There's no specific documentation anywhere online beyond the Quick Start guide, either, and firmware support is a mystery. The latest firmware offered on the website is older than the firmware installed when I received the unit, which is already two years old. No idea whether or not there's any newer version that exists somewhere. Overall, as long as it works, it works great. If not, good luck troubleshooting, because you're on your own. ... show more
Reviewed in the United States on September 27, 2022 by Amazon Customer

  • xfinitywifi problem Solved! How to Connect a cpe510
Style: N300, 5GHz
ultimately the cpe510 does do an excellent job of delivering high speed wifi but there are lots of pitfalls to be aware of. the first thing to know is that 13dBi is just barely enough to reach the wifi hotspot that is less than a block away (1 block = ~ 500 feet). if you are in an RV you should look for a bigger more powerful antenna, this is unlikely to work for you. also anything less than 3 bars on the cpe510 meter (about 73db) and I could not get a reliable connection. if you have two cpe510s talking to each other apparently you can get this to work up to 10 miles. but when talking to an ordinary access point your range is much less. another thing to be very aware of is that unlike most wifi routers, this is not dual band, it ONLY supports the 5GHz range. some devices especially older cellphones don't work with 5GHz and require the 2.4GHz band. if I had realized this before I bought it I probably would have gotten something else. thankfully it didn't matter for my specific use case, everything I want to use it with is 5GHz capable. I specifically wanted to use this with an xfinitywifi hotspot (long story about areas of internet inaccessibility omitted) but I very nearly sent this back because it wouldn't work, it would connect but no traffic would pass. I spent several very frustrating hours online chatting with TP-Link tech support. two different techs were clueless about how to solve the problem and there was nothing in their knowledge-base about it., [update: a tech support supervisor contacted me to apologize for their techs failing to solve my problem, and we had a great conversation, they have now added this solution (below) to their knowledge-base so that in future anyone seeking help can be given the answer. I was very impressed by their response - you can expect super excellent tech support from TP-Link] I also spent many hours searching the internet trying to find an answer for why this wasn't working with xfinitywifi. so after days of trying different things and endless frustration and searching I finally got it to work and here is the answer that you need. xfinitywifi requires you to have a paid account that you login to (despite their claims about free access during covid) in order to use their hotspots. but what is not apparent is that they also register and keep track of the individual devices that you are using to connect with. none of that is actually a problem though. except.. for when it is. what is a major problem is that this link is nearly impossible to find, this is the list of YOUR registered devices. I don't know why they hide this link but they do at least as of when I am writing this. https://customer.xfinity.com/#/settings/security/hotspot-devices in ~Bridge~ Mode the router is supposed to be transparent/invisible when it forwards the packets from one connection to the other. But I was unable to get that to work with the cpe510 and that is a huge problem which prevents it from working with xfinitywifi. thankfully there is a work-around (other than replacing the firmware with dd-wrt which voids your warranty). what you need to do is to get the cpe510 registered with xfinitywifi as one of your authorized devices. until it is registered as a known/approved device xfinity will refuse to allow traffic to flow to/through it. now the catch is that there is not any way to directly register the cpe510 with xfinitywifi. so instead you configure your laptop to pretend that it is the cpe510 and then you register your laptop with xfinitywifi. this will trick xfinitywifi into accepting the cpe510 as an approved device. what you have to do is to open up the cpe510 status page on your browser and find the MAC Address: the cpe has 2 MAC Addresses, the one that you want is in the WAN section, if you use the one from the LAN section this won't work, so make sure you get the correct one. Now for the tricky bit, I can't tell you specifically how to do this because it depends on your operating system and even varies by version and updates so you will have to search this out, once you know how it is actually very simple to do. But what you want is to temporarily set the wifi card of your laptop to use the MAC Address of the cpe510. on my laptop this entry is called Cloned MAC Address and is in the network settings. You just put the cpe510's MAC Address in that address field and you are all set. Now take your laptop to someplace where the signal is strong enough for you to directly connect your laptop to xfinitywifi. it can be any hotspot it does not have to be the same one that you intend to use with the cpe510. now just connect your laptop and login to xfinity. login.xfinity.com and then verify that the MAC Address of the cpe510 now shows up in the list of your registered devices. you also have to configure the cpe510 for WISP Mode That's it you are done!!! your cpe510 will now be allowed to connect to xfinitywifi hotspots (any hotspot). be sure to reset your laptop's wifi card back to normal where it is using it's own MAC Address and not the cpe510s MAC Address. it's a bit of a headache, but if you are familiar with network settings this is a simple task. finding this info however took a huge effort, so here is my gift to you. Enjoy! bottom line, if you can find a strong enough signal for the cpe510 and you get the MAC Address registered following the above procedure (takes about 15 minutes plus moving the laptop) then the cpe510 does do an excellent job of delivering high speed internet via an xfinitywifi connection. P.S. this only applies to xfinitywifi , for any other use the cpe510 works fine without jumping through any hoops. ... show more
Reviewed in the United States on April 29, 2021 by Erik

  • TP-Link CPE210 – Great WiFi Transmitter for Those with Some Networking Experience
Style: N300, 2.4GHz
With CP210 I can finally enjoy great WiFi connectivity at my dock which is about 100 meters (yards) away from my home’s router! If you are lucky, the device may work right out of the box as described by some Amazon users… but others may need some networking experience to set up the device, as was my case. WHAT’S IN THE BOX - In addition to the transmitter (which is very lightweight), the package includes a small rectangular power-over-ethernet (PoE) adapter, a power cord, and some mounting hardware. Please note that ethernet cables are NOT included. When buying ethernet cable for outdoor installation, make sure they are of the shielded variety (and up to 60 meters in length). Otherwise, you will need to run a separate grounding wire from the transmitter to the ground. PHYSICAL SETUP – Step #1: Plug a shielded ethernet cable into the LAN port on the PoE adapter’s LAN port. Typically, plug the other end of that cable to your router (but in other setups, you may need to connect it to a computer or a network switch). I connected mine to the router. Step #2: Using another shielded ethernet cable, connect the PoE port of the PoE adapter to the TP-Link WiFi transmitter. Step #3: Attach the supplied power cable to the PoE adapter. That’s it! The PoE adapter will now be sending power to the WiFi transmitter via ethernet cable. SOFTWARE SETUP – This may be the tricky part. The IP address of the WiFi transmitter is 192.168.0.254. If you are lucky, your router’s address also has ‘0’ in its third position (such as 192.168.0.1). If so, type http://192.168.0.254 in your browser’s address bar and the WiFi transmitter software will show up on the screen. However, I was among the unfortunate ones as my Asus router’s address has ‘1’ in its third position (192.168.1.1). To access the WiFi transmitter’s software I had to follow the multistep procedure recommended by the manufacturer. Step #1: Temporarily, assign a static IP address to a computer from which you are trying to access the WiFi transmitter’s software. In Windows, go to Settings | Network & Internet |Ethernet| Network and Sharing Center | Local Area Network Connection. Step #2: In the dialog box that appears, click Properties | double-click Internet Protocol Version 4 (TCP/IPv4). Step #3: Select ‘Use the following IP address:’, then in the IP Address field, type 192.168.0.x where x is any number between 2 and 253 (such as 192.168.0.180). Step #4: Click anywhere in the Subnet mask box, 255.255.255.0 will appropriately appear. Click OK. Step #5: Now go back to your browser and type http://192.168.0.254 to access WiFi transmitter’s software. Follow instruction provided in the booklet included in the WiFi transmitter’s retail box. I set up mine as an Access Point. Initially, my phones and laptops could recognize the WiFi transmitter (default SSID name: TP-Link_Outdoor_20C2EE) in their WiFi lists but after trying to connect, each device would give an authentication error message. After rebooting the WiFi transmitter (by clicking the Reboot button in the WiFi transmitter’s software), everything worked like a charm! IMPORTANT – Before you call it a day, go back to your Windows networking software, and revert your computer’s local area network connection to dynamic addressing; otherwise, your computer may not be able to connect to the internet. Repeat Steps #1 and #2 from above. In Step #3: Select ‘Obtain an IP address automatically’ and click OK. ... show more
Reviewed in the United States on July 11, 2020 by Muhamed Saric

Can't find a product?

Find it on Amazon first, then paste the link below.