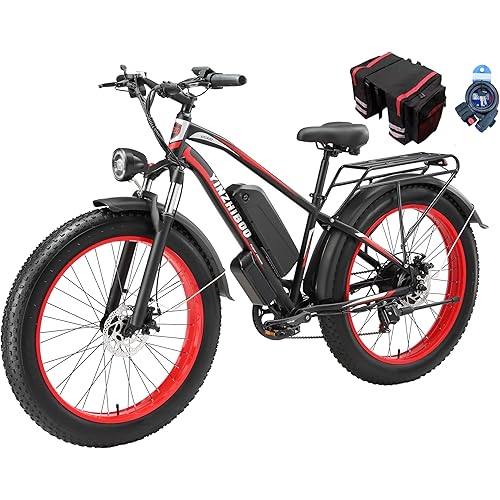
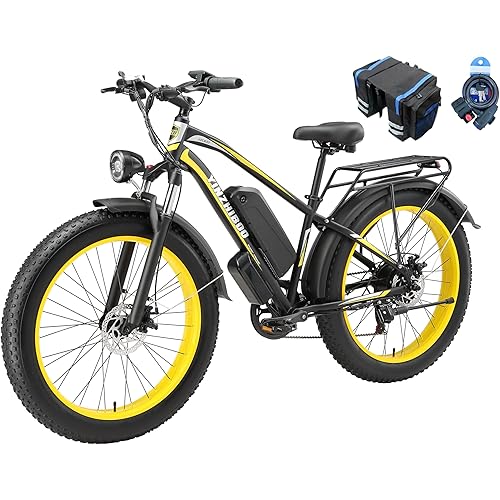
Okay, let me start by saying this is a long and comprehensive review which covers ordering, shipping, unpacking, using the manual, assembly, charging the battery and enjoying the ride. My situation has been totally positive but, take it with a grain of salt as I have, perhaps, a bit more experience w
here building bikes is concerned. This is, however, my first ebike buy, assembly and ride. Ordering was simple like most orders on Amazon are. The price of the bike is extremely reasonable as you will discover when yours arrives. There is a relatively high shipping charge but the speed and care exhibited by FedEx helps soften the blow. I ordered this bike for my wife on March 5th and it arrived from the seller on March 8th. That's pretty quick in my estimation. The packing box was very heavy duty, in perfect condition and showed no rough handling during shipping or delivery. Thanks FedEx! Upon opening the box I was greeted with the most comprehensively perfect packing job I have ever experienced. There was a place for everything and everything was in its place. All painted parts are protected by carefully placed closed cell foam wrap while others are protected by bubble wrap or enclosed in boxes. The care and concern with protecting the bike was obvious. One suggestion for the manufacture...place the owners manual in the top of the box where it can be easily found and referenced by the purchaser. It did eventually appear in a box at the bottom of the shipping container and it is fairly well written and comprehensive...cudos for that. Removing everything is like reverse engineering a puzzle, take your time and you'll be fine. I suggest you have a nice wide open space to place everything as you begin assembly. Following the manual is mandatory and will take you step by step from unpacking through to a completed ride. Use caution to protect the painted surfaces of the bike during construction. The charger and battery come in very protected closed cell foam packaging and are, in essence, "plug and play". Turn the battery over and make sure the red toggle switch on the bottom is set to its negative (-) position. Insert the charger plug into the battery, connect the battery cord to charger and plug the charger into the wall. The charger will show a small red light which will become green when charging is complete. Let the battery charge completely (4-6 hours) before you use it! FOLLOW ALL INSTRUCTIONS CONCERNING THE CHARGING, STORAGE AND USAGE OF THE BATTERY!!! The actual assembly process involves installing the pre-assembled front fork, the handlebars and seat (both of which are multi adjustable for comfort), the front wheel, front and rear fenders, the luggage rack/battery holder, front light/horn, pedals and kickstand. You will notice the quality of the paint, the beautiful welds and fitment of the aluminum alloy frame as well as the quality components. All the electrical cables are overwraped and pre-installed (with the exception of the horn/light assembly which simply needs placement). This thing isn't a pain to assemble...it becomes a labor of love. Everything fits perfectly and all screws are Allen head and loctite ready, a nice extra touch for added safety. There is a provided rudimentary toolkit and pouch and you can complete the full build using said tools but you might supplement your own screwdrivers rather than using the provided "emergency" one. When all is said and done and you have finished assembly, be sure to go around the bike checking each fastener for correct tightness. Now, step back and admire your beautiful bike in all its glory! Bet you can't wait to ride it!!! Let's get going! Read the manual to discover important and helpful information concerning the LED display panel. You absolutely need to understand this panel and its myriad settings to safely operate this bike on your first few rides. An important example: when turned on, the bike defaults to assistance level (mode) #1 which I believe is potentially hazardous to a first time rider. When used, the mode settings numbered 1-5 cause an immediate reaction by the bike when you begin to pedal. Remember, this is an electric bike and there is no lag time between "accuation and action" so if you start out as most people do, one foot on the ground and the other on the pedal, as soon as you begin peddling and ready or not...the bike will lurch forward potentially tossing you off. Speaking of that...you ARE correctly wearing a HELMET, appropriate clothing and actual shoes right??? Good! You don't want to end up trading a joy ride on two wheels for a lifetime riding on four. Think about it. I believe for safety, BEFORE you attempt your first and or subsequent rides, you should set the mode control to "0" by pressing the negative button. The bike is now in the throttle position which means any movement it makes, unassisted or throttle assisted is controlled specifically by YOU. To begin your ride place your right hand to the outside of the right grip so there is no connection between your hand on the handlebar and the throttle. Begin your ride by peddling (just like on a normal bike) and when you are comfortable and when it is safe, SLOWLY and CAUTIOUSLY begin to rotate the throttle backward (toward you) until you feel the motor catching up with your current speed and lightly taking over. At this time you may continue to pedal or stop peddling and the bike will maintain this speed. Lightly twisting back on the throttle will increase speed while twisting forward or "rolling off" will slow you down. A simple light application of the front brakes will also act as a throttle disconnect. Maintaining the current safe speed you are using for 8 seconds will automatically set "cruise control" which can easily be overridden by moving the throttle or lightly applying the front brake. This bike is relatively fast and powerful so take your time getting used to its capabilities and mannerisms. The bike has 7 manually operated gears allowing you to change to lower or higher gearing as the terrain dictates. The Shimano derailleur and gearset is both fast and accurate as you use the button or lever (located on right handgrip) to switch gears. Using these manually selected gears will greatly assist you while operating in a traditional (non-powered) manner. Moving on to the power assist mode... "assist" will get more powerful as you move through (mode) numbers 1-5. These settings are, in my opinion, best used while the bike is in motion. Example: little hill=little number, bigger hill=bigger number if you need assistance. Don't want to pedal up a hill at all? Throttle your way up and over. This bike is very versatile, it can be used fully manually like a regular bike (though it's somewhat cumbersome due to its extra weight), partly assisted or fully assisted. It's your choice. Using your assist mode frugally and only when needed will improve your "charge to mile" ratio considerably. Zipping around using power on flat and downhill terrain unnecessarily might just leave you "high and dry" when "assist" becomes necessary for that last series of hills. Braking is fast and accurate on this bike what with disks front and rear. Mine required only slight adjustments both front and rear and how to adjust is covered in the manual or, if necessary, check out YouTube videos. I always ride with my index and middle fingers on the front brake lever and my ring and pinky on the handlebar grip. This provides instant access to the most capable brake in the event of an emergency. Since most of your stopping power is in your front brakes get used to using them. Feel them out, break them in and set them correctly (about a 3/4 - 1 inch pull for best accuation). Always ride in a relaxed manner but in an emergency push your bottom toward the back of the bike as you aggressively brake with both your front and rear brakes. Try not to fixate on the object you are trying to avoid so you can scan for a way to miss it. Your brakes are your friends, take time to get to know them. There is an actual horn which is better served for use in alerting pedestrians to your presence but it might get another drivers attention... Lights front and rear help with safety if you are out after dark. In all honesty, and as of this very short window of usage I really cannot find much if anything to gripe about. Okay, there could and should be a brake light for safety day and night but there isn't. Secondly, my wife tends to point her toes slightly out when riding and that sometimes causes inadvertent contact with the kickstand and her heel. A different placement of the kickstand under the bottom bracket might be explored by the manufacture but other than those two slight issues, I really have no other complaints. Over the past few days my wife has learned to operate her bike safely and she hasn't stopped smiling while riding it. To date she has ridden 25 miles on the first battery charge and still has half a charge left. I think 40+ miles on a single charge is probable, especially since these batteries tend to improve a bit after the first few uses. Well, that about covers it...I hope you found this review helpful in your decision making concerning purchase of this bike. I also hope it helps make your initial experiences with this bike safe and fun. As of this moment I would suggest that you can't really go wrong with this choice of e-bike. It is well made and uses quality components. It's also beautifully crafted and it goes and stops impressively. As always with my reviews, if things suddenly go wrong with the bike, you'll be the first to know as I will post an update here immediately. By the way...my wife says "she absolutely loves it"...nuff said!
...
show more